0%
0%
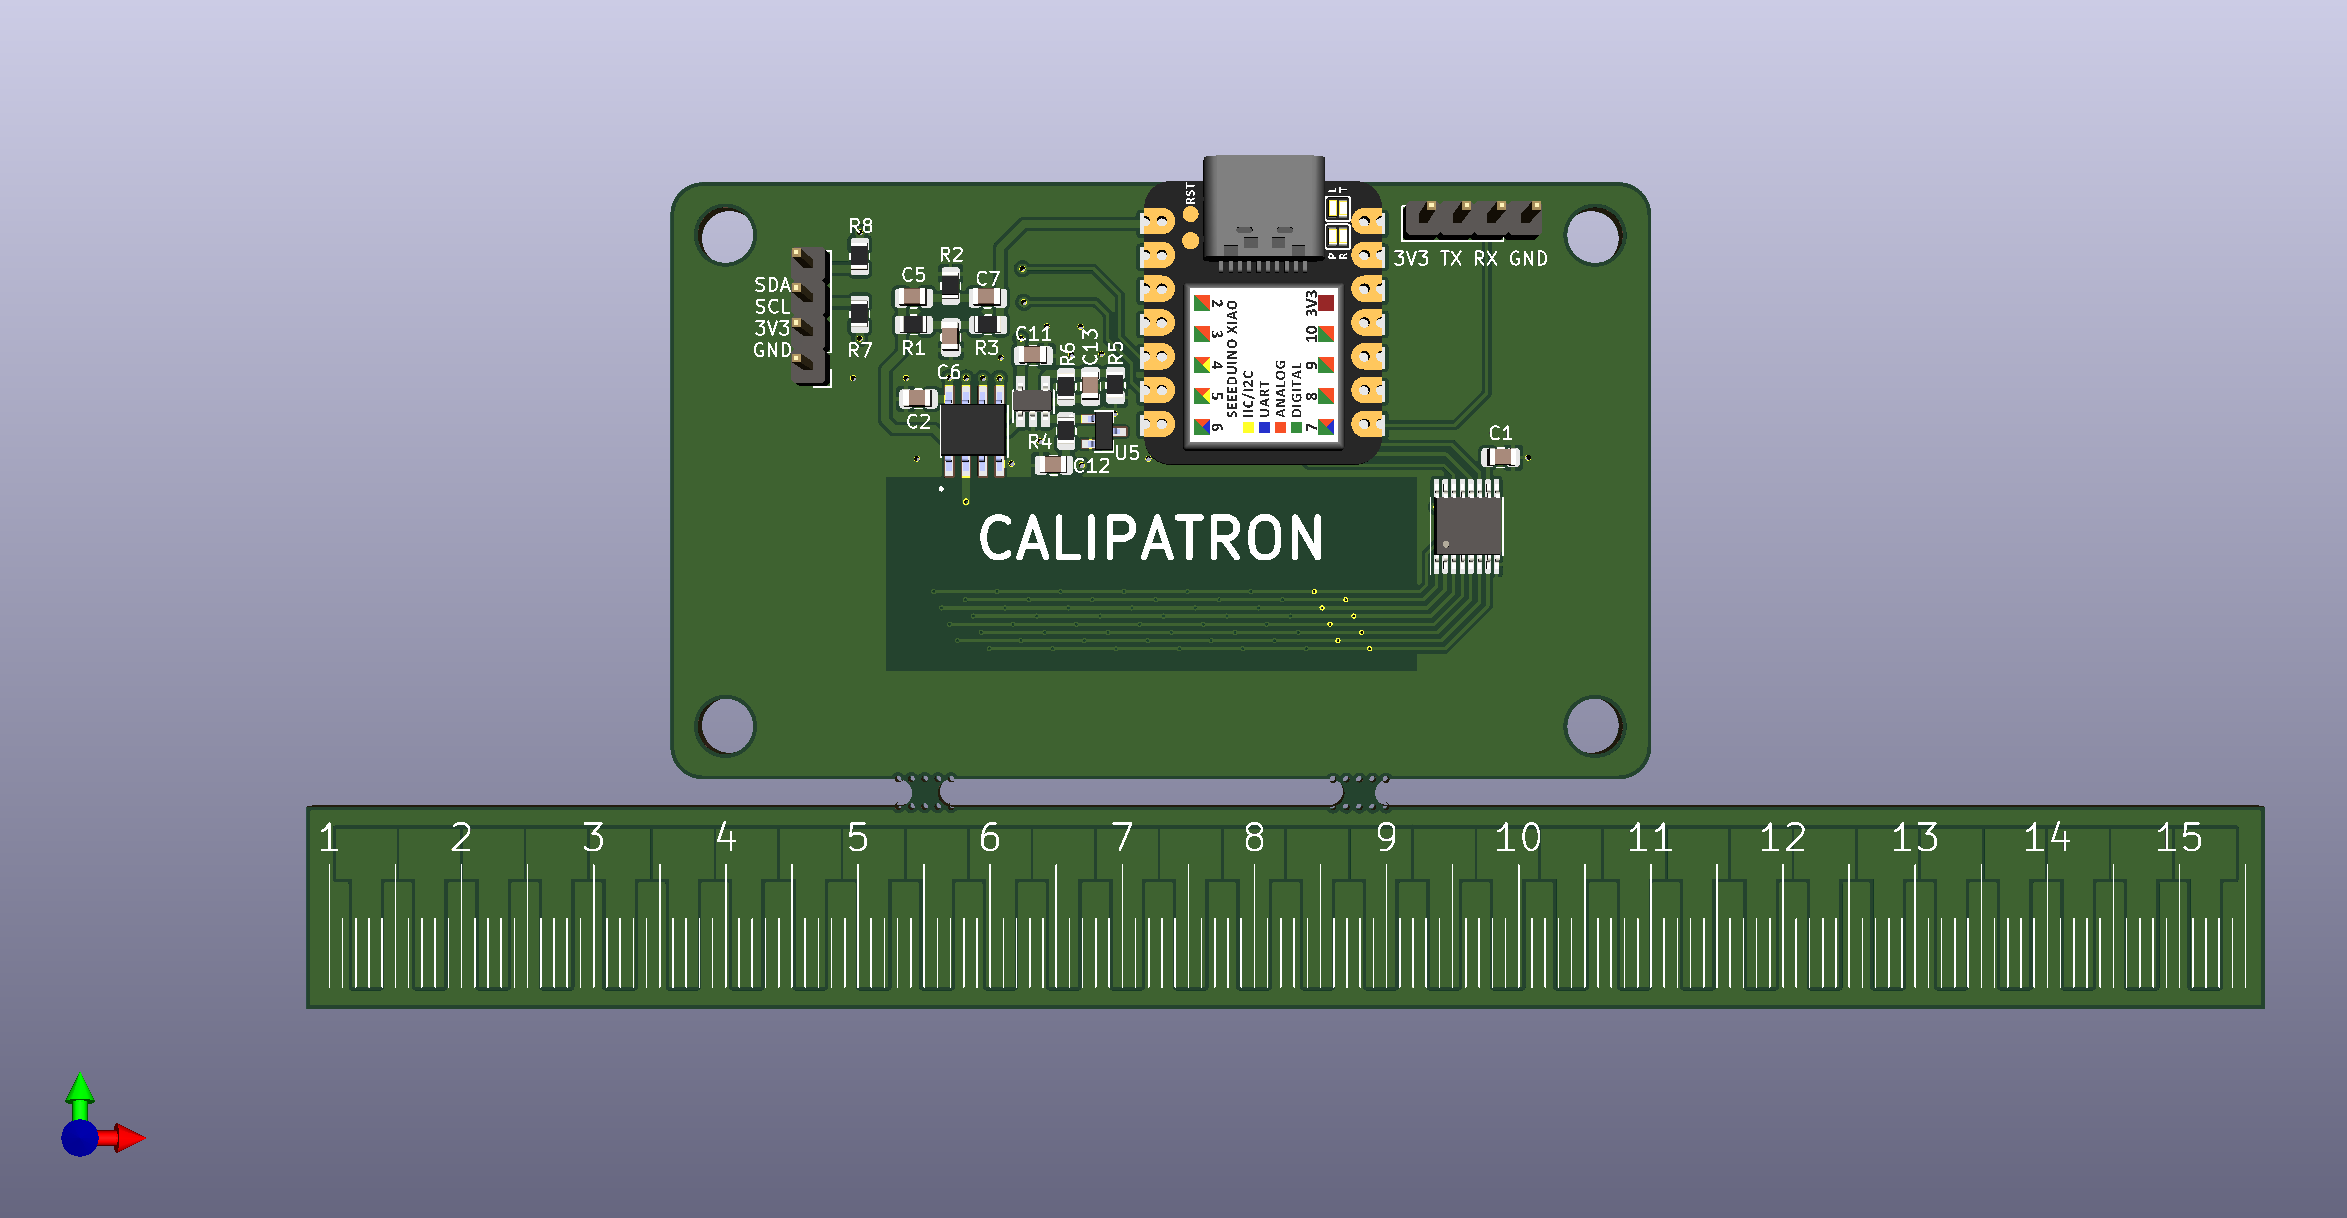
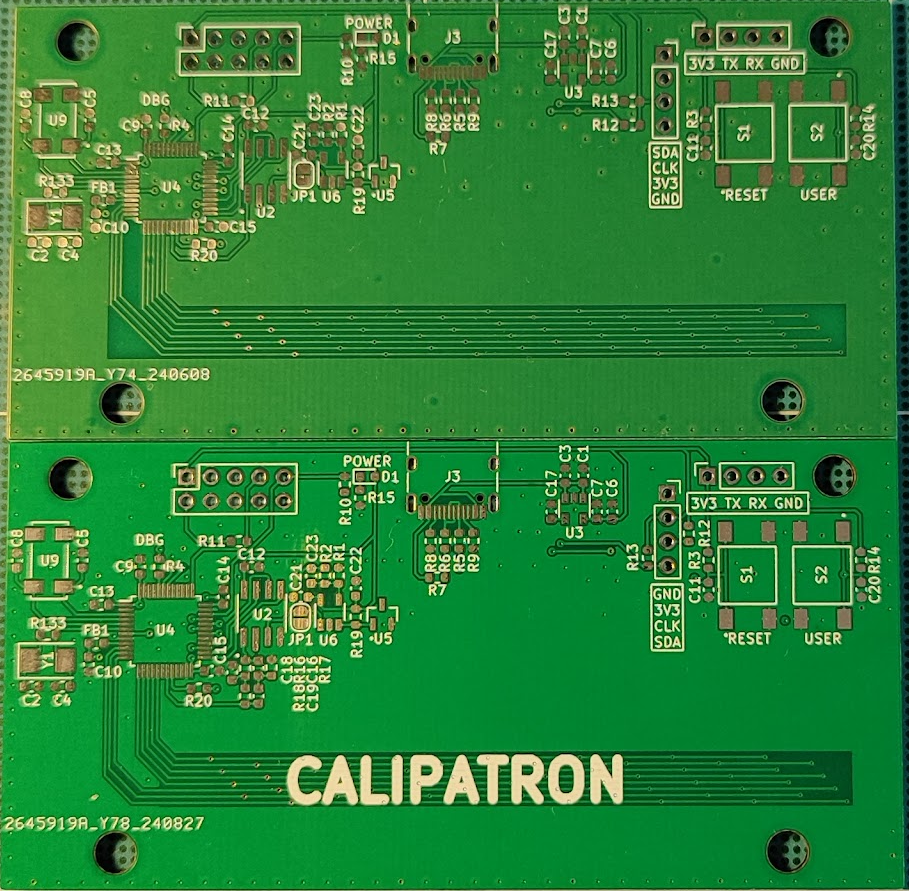
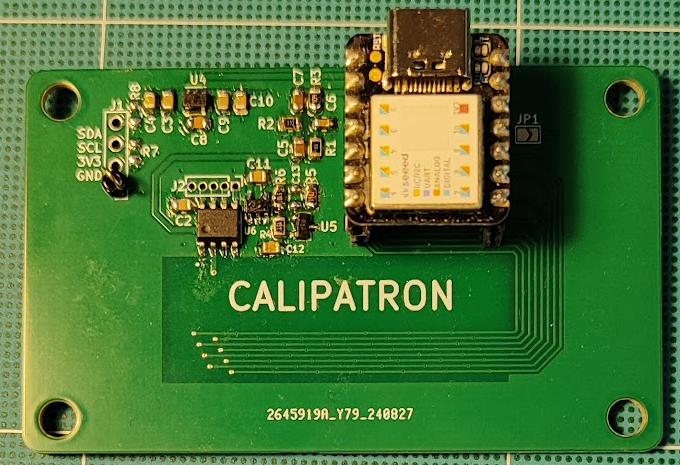
DIY Digital Caliper - CALIPATRON
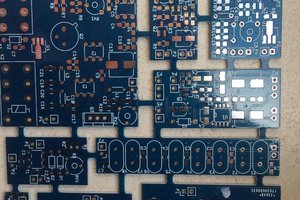
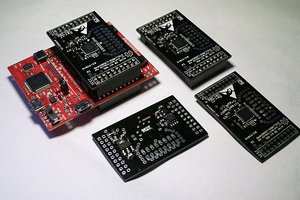
I design my own digital caliper based on STM32F103 blue pill (and more).
 Dimitar
Become a Hackaday.io member
Already have an account? Log in.
Just one more thing
To make the experience fit your profile, pick a username and tell us what interests you.
Pick an awesome username
hackaday.io/
Your profile's URL: hackaday.io/username. Max 25 alphanumeric characters.
Pick a few interests
Projects that share your interests
People that share your interests


 M.daSilva
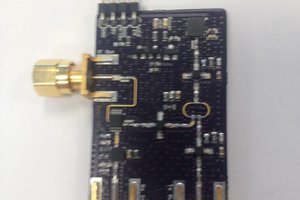
 helge
helge
 The Big One
Could you please release the kicad files as well? I was going to try and build up a board with an STM32H7 - just to see if I could try and implement https://kevinlynagh.com/calipertron/ with better visualization using high speed USB on the H7